Offering online payment options has become essential for businesses of all sizes. Payfast is a popular payment processor that allows merchants to accept payments securely and conveniently. This article will guide you through the process of integrating Payfast into your website, enabling you to receive payments securely online.
Payfast is great for online payments because it integrates with 80+ shopping carts and allows you to customise the enabled payments to fit your needs. This means no matter what platform you choose to build your online store on, you can receive online payments with Payfast.
Benefits of integrating Payfast
By integrating Payfast into your online business, you unlock a range of benefits that enhance payment options, security, convenience and transaction efficiency. Let’s go through them.
Increased payment options
Payfast supports various payment methods, catering to a wider customer base and increasing the likelihood of successful transactions.
Enhanced security
Payfast employs advanced security measures to protect both the merchant and the customer, including encryption, fraud prevention and secure payment processing.
Convenience for customers
Payfast provides a user-friendly interface, ensuring a smooth payment experience for customers, leading to higher customer satisfaction and improved conversion rates.
Efficient transaction processing
Payfast handles the payment processing, reducing the administrative burden on merchants and streamlining the payment flow.
Quick access to funds
Payments made through Payfast are deposited directly into your Payfast account, which can be paid out to your linked bank account, allowing for faster access to your funds.
Now that we understand the benefits of integrating Payfast, let’s explore the step-by-step process to get started.
How to integrate Payfast
Step 1: Creating a Payfast account
To integrate Payfast, you need to create an account. Follow these steps:
- Click “Sign me up” to register a Payfast account and provide the required information, including your email address, password and contact details.
- Agree to the terms and conditions, and then click “Register.”
- Once you’ve completed the registration, you’ll receive a confirmation email with further instructions.
Step 2: Setting up your Payfast integration
After creating your Payfast account, you’ll need to configure the integration settings. Here’s how:
Log in to your Payfast account
- Navigate to the Payfast integrations section and select the integration method that suits your website platform.
- Follow the provided documentation or guides specific to your platform to set up the integration.
Payfast provides detailed integration guides for popular platforms like WooCommerce, Shopify, Magento and more. Choose the relevant guide for your platform and follow the instructions carefully.
Step 3: Adding Payfast payment options to your website
Once the integration is complete, you can add Payfast payment options to your website. This allows customers to choose Payfast as their preferred payment method during checkout. Follow these steps:
Access your website’s backend or administration panel
- Locate the payment settings or options section.
- Enable Payfast as a payment option and configure any additional settings required.
- Save the changes, and Payfast will now appear as a payment option on your website.
- Ensure that the integration is properly configured, and all necessary details, such as your merchant ID and key, are correctly entered.
Step 4: Testing the integration
Before going live with Payfast, it’s crucial to test the integration to ensure everything works as expected. Follow these testing steps:
- Place a test order on your website using Payfast as the payment method.
- Complete the checkout process, simulating a real transaction.
- Verify that the payment is processed correctly, and that you receive the order details and payment confirmation.
- Check your Payfast Dashboard to ensure the transaction appears correctly and matches the test order.
- By testing the integration, you can identify any issues or discrepancies and address them before accepting real payments.
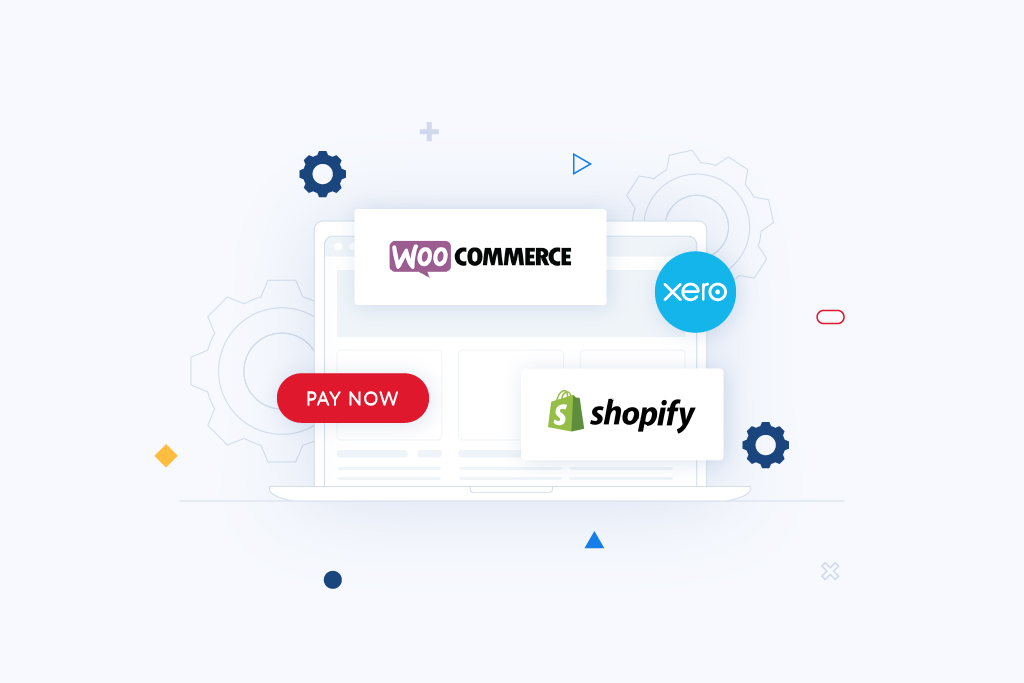
Platform-specific integrations
Shopify
Shopify is one of the easiest ecommerce platforms to sell on because of how simple it is to get up and running. Shopify enables anyone from small business owners to multinational corporations to sell online. You can easily add and organise your products, services or digital downloads, customise your store with one of the hundreds of templates (or develop your very own look and feel) and professionally handle all aspects related to online trade. Add (or buy) the domain name for your store and you’re ready to sell.
When setting up your Shopify store you’ll have to select a payment gateway to get paid. For information on how to set up the Payfast Payments App on your Shopify store, read this ‘How do I use Payfast on Shopify’ article.
WooCommerce
WooCommerce is a free open-source ecommerce plugin for WordPress that can turn a website into an online store. Since its inception in 2011, it has grown to be the most popular ecommerce plugin for WordPress with an array of powerful features and extensions available. Some examples include detailed shipping, tax and price customisation, as well as integration with thousands of WordPress themes.
As part of the process of setting up your WooCommerce store you’ll be required to set up your payment gateway to get paid. Watch the following video for instructions on how to integrate Payfast with your WooCommerce store in just three minutes.
For more information, read this ‘How do I integrate Payfast with WooCommerce?’ article.
If you aren’t sure if Shopify or WooCommerce is the right platform for you, read our Shopify or WooCommerce blog for some insights into their different functionalities.
Xero
Xero is cloud-based accounting software that is trusted by millions of people around the world to run their small businesses. With Xero you can generate invoices, create expense claims and manage your cash flow from your computer or mobile device. By integrating Payfast with your Xero account you’ll be able to create an invoice with a Payfast ‘Pay Now’ button allowing your customers to conveniently settle their invoices.
Xero also integrates with a number of popular ecommerce platforms such as WooCommerce, Ecwid, Shopify, PrestaShop and Magenta, enabling invoice data to be exported to Xero in real-time for up-to-date reporting.
For more information, read this ‘How do I set up Xero on Payfast?’ article.
If you have already chosen a different ecommerce platform, visit our shopping carts integration page and search for your platform to find out how to do the integration with Payfast. If you have a custom website, view our comprehensive Developer Documentation for integration instructions.
‘Pay Now’ Buttons & Payment Requests
If you don’t have a website then the two easiest and quickest ways to get paid online are through Payment Requests and ‘Pay Now’ buttons. A Payment Request sends an email containing a ‘Pay Now’ link to your customer’s email address, so it’s a nifty solution if you don’t have a website to receive online payments through. ‘Pay Now’ buttons on the other hand are extremely easy to generate and can be embedded on your website or email so your customers can quickly pay you.
Both of these features can be generated from your Payfast Dashboard. Simply log in to your Payfast account and click the ‘Generate’ button next to the solution you wish to create on the Payfast Dashboard homepage, and then enter the required information. For more information on each, take a look at the Payment Request and ‘Pay Now’ Buttons web pages.
Troubleshooting Common Issues
While integrating Payfast, you may encounter some common issues. Here are a few troubleshooting tips:
Invalid integration credentials
Double-check that you’ve entered your Payfast credentials accurately, including the merchant ID and key.
Conflicting plugins or extensions
If you’re using additional plugins or extensions on your website, ensure they’re compatible with Payfast and not causing any conflicts.
Incomplete or incorrect integration settings
Review your integration settings and make sure you’ve followed the correct steps outlined in the Payfast integration guide for your specific platform.
If you’re still experiencing issues, reach out to Payfast’s customer services for assistance. Payfast is dedicated to helping our merchants succeed online. If you have a shopping cart platform or plugin that you would like us to integrate with, submit your solution for consideration here.
Integrating Payfast into your website allows you to accept payments online conveniently and securely. By following the step-by-step process outlined in this article, you can seamlessly integrate Payfast into your website and provide your customers with a reliable payment experience.
FAQs
Can I use Payfast with any website platform?
How long does it take to set up Payfast?
What currencies does Payfast support?
Is Payfast secure for online transactions?
Can I refund payments made through Payfast?
To stay up to date with the latest Payfast news and updates, follow us on Instagram, Twitter, LinkedIn or Facebook.